

Let It Snow!
It’s gingerbread house time! Thank you immensely for your beautiful purchase of this exciting adventure! Below is our quick guide on how to both build and ideas to decorate your lovely edible home and I’m beyond excited to see your creations. Wishing you the best of times and good luck!
Email if you have any questions at head.chef@nourishhappy.com.
The Kit


You’ll need a pair of scissors to get started!
Plus, make sure your workplace is clean and ready for a mini-fun mess :).
Building Our House :)
-
Place scallop flat on our dolly, gold side up.
Ready Piping bag squishing the contents till a solid paste forms (within the bag).
Once mixed thoroughly, cut a small hole at the end so that a comfortable amount of icing can slowly exit when pressed.
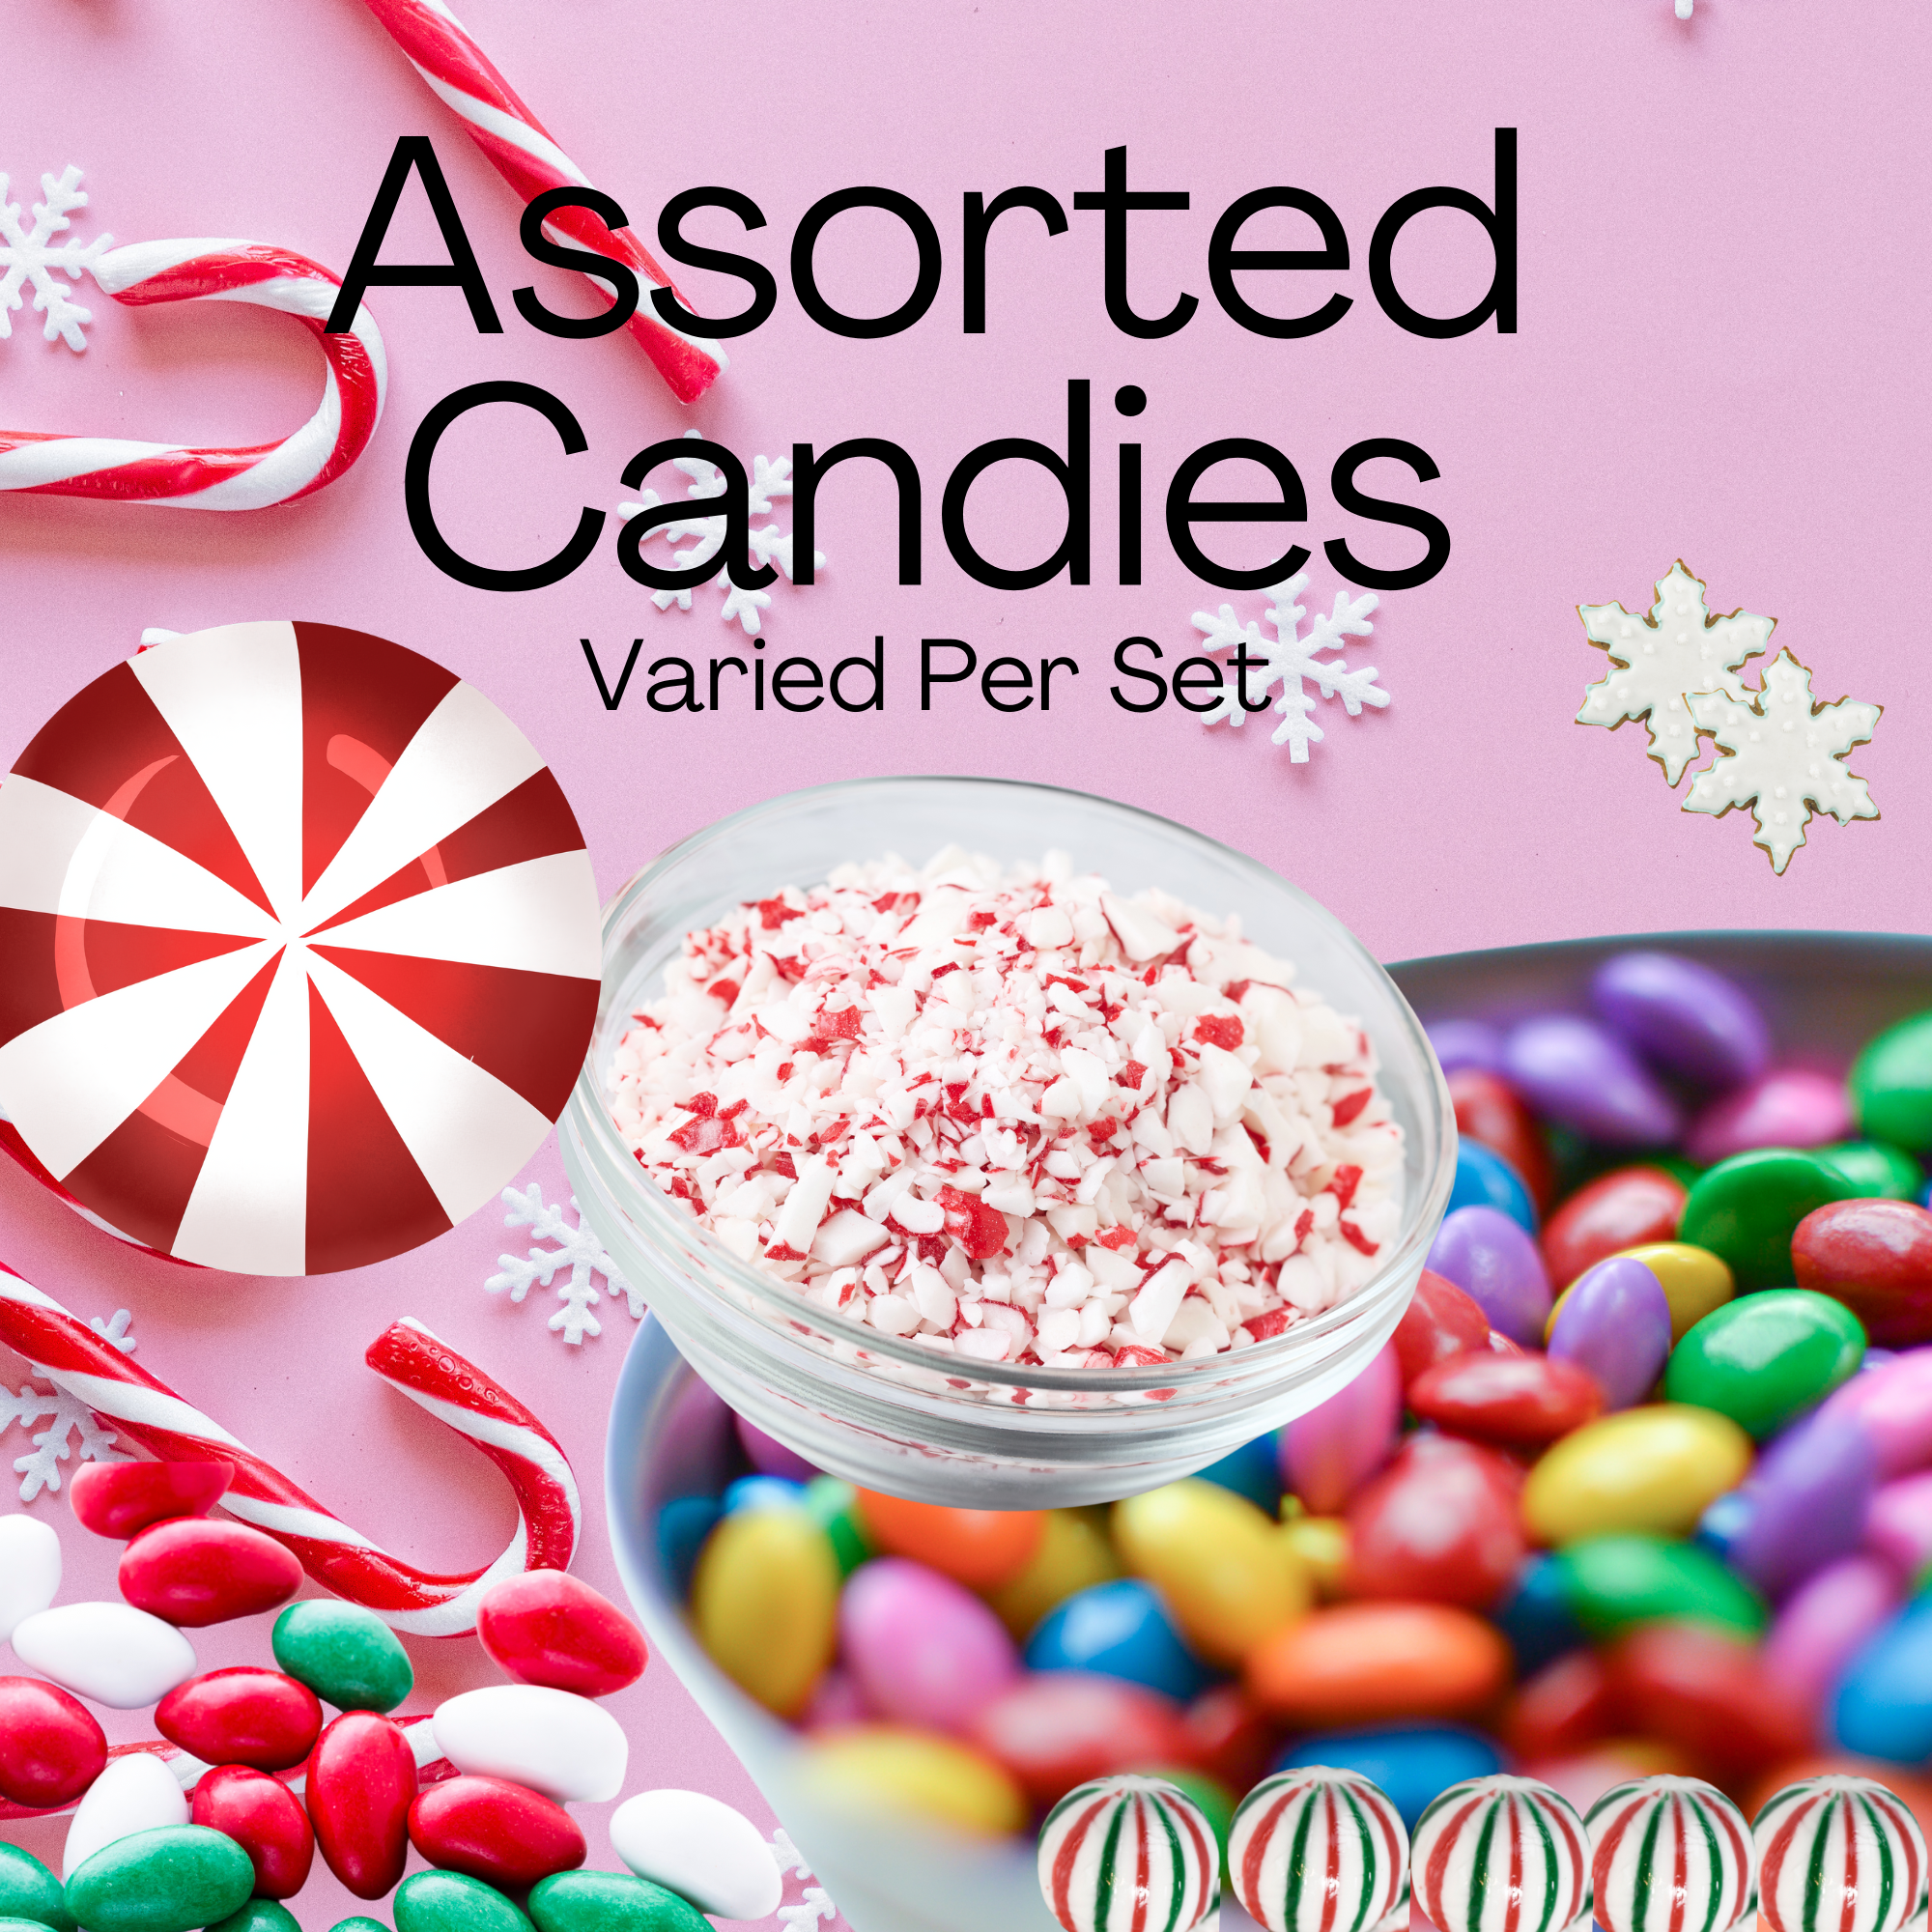
Ready all gingerbread pieces and set aside candies and decorative elements
Big tip for icing bag!
Cut a small piece first, then slowly if needed, cut more for flow :). -
You’ll Need: 1 Front Piece & 1 Side Panel
Side Piece: Squeeze icing on one side and bottom line. Set aside for a moment.
Front Piece: Squeeze icing on bottom line, place on gold board scallop on the furthest edge possible.
Take iced side piece, place on board and connect with front piece so that the icing sugar touches the back of the house.
Hold here for 30 seconds :).
-
You’ll Need: 1 Side Piece
Squeeze icing on one side and bottom line on the 2nd piece.
Mirror first piece placed and connect with the upright front of the house.
Hold for 30 seconds.
-
You’ll Need: Back Panel
Ice the bottom of the last front/back piece
Ice the remaining exposed sides of both side panels.
Connect with back panel
Hold for 30 seconds :)
yay! we should have an upright house! :)
-
With an upright structure and an exposed inside, take a moment to ice all crevasse and openings inside and outside of the house for reinforcement :)
-
You’ll Need: Both Roof Pieces
Plan which edges (lengthwise) you’ll want to be connected at the top of our house and set aside.
Ice all exposed edges all over the top of the house (front/back/side panels)
Take both pieces and place on the top of the frame, holding for 30 seconds (or until fully glued in place). Pro-tip, hold with thumb and forefinger on the front and back of the house instead of in the middle for better connection :).
Once set, add a line at the top of our house for reinforcement.
Now! Let’s Decorate :)
With a completed house, the fun continues! Decorate and have the best time with all of the elements :).
Troubleshooting
Run out of Icing?
Here’s our Recipe:
50g Meringue Powder (or 2 egg whites beaten stiff)
1000g (1kg) Icing Sugar
A Dash of Vanilla Extract
200-300g Room Temperature Water, for consistency
Optional: Gel Food Colourings
Whisk meringue powder and a small amount of water for froth. Add all icing sugar and continue whisking till a paste forms. Add more water as needd and our extract (plus food colouring if using).
If opting for egg whites, whisk till soft peak first then add all icing sugar. Whisk with water continuously.
To note: Meringue powder can be purchased at bulk barn! :)
House Not Sturdy?
Mainly - this happens when the royal icing on our structure dries too quickly. If pieces are falling, remove icing that’s dried and try again but slightly quicker. You got this!
Another Idea - The pieces weren’t held on tightly enough when holding. Try again and maintain the hold till secure :).
If anything else, please don’t hesitate to email me at head.chef@nourishhappy.com.

Happy decorating!
You are amazing and have the BEST time!
Stay warm and here at Nourish Happy. we are wishing you a wonderful holiday season :)!